Search for answers or browse our knowledge base.
How to Take Screenshots (on Windows/PC)
Introduction
This article will help you easily take relevant screenshots for emailing to our Support Department or uploading through our website in conjunction with an open Support Case you have. There are numerous applications and programs that help you capture screenshots and videos from your computer. We have chosen to highlight Microsoft Snipping Tool, because it is free, from a trusted source, and easy to use.
Many of the help requests we see in our Support Department boil down to a handful of broad categories, such as:
- “I’m getting an error when…”
- “I don’t see the data I expected…”
- “Something is wrong with my screen.”
- “I can’t log in to…” or “I need my password reset.”
When you enter your Support Case with us, adding a screenshot can be very helpful! It allows us to know exactly what you’re seeing, and precisely where you’re seeing it. This helps us provide a resolution on our first response to you, rather than having to respond by only asking for additional information.
Instructions
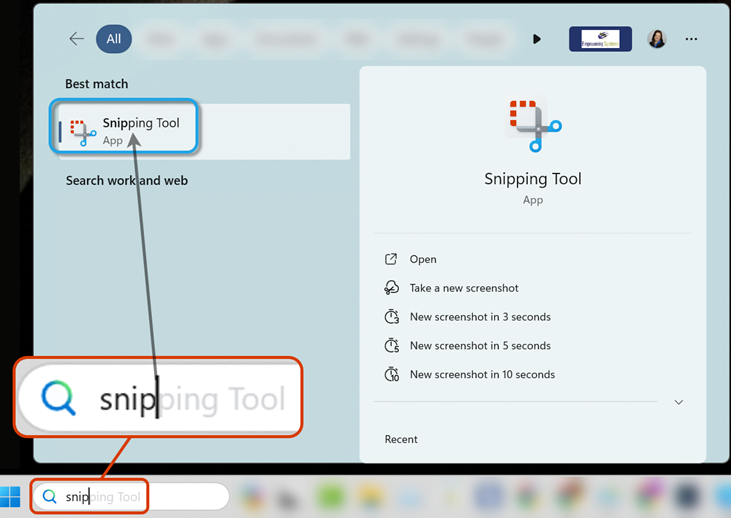
Check your computer to see if you already have the Microsoft Snipping Tool application. To do this, click in the Search box on your taskbar, and enter Snipping Tool.
If you do not see the Snipping Tool, you can download it for free, from the Microsoft App Store, by clicking here. If you do already have the application, great! Keep reading below.
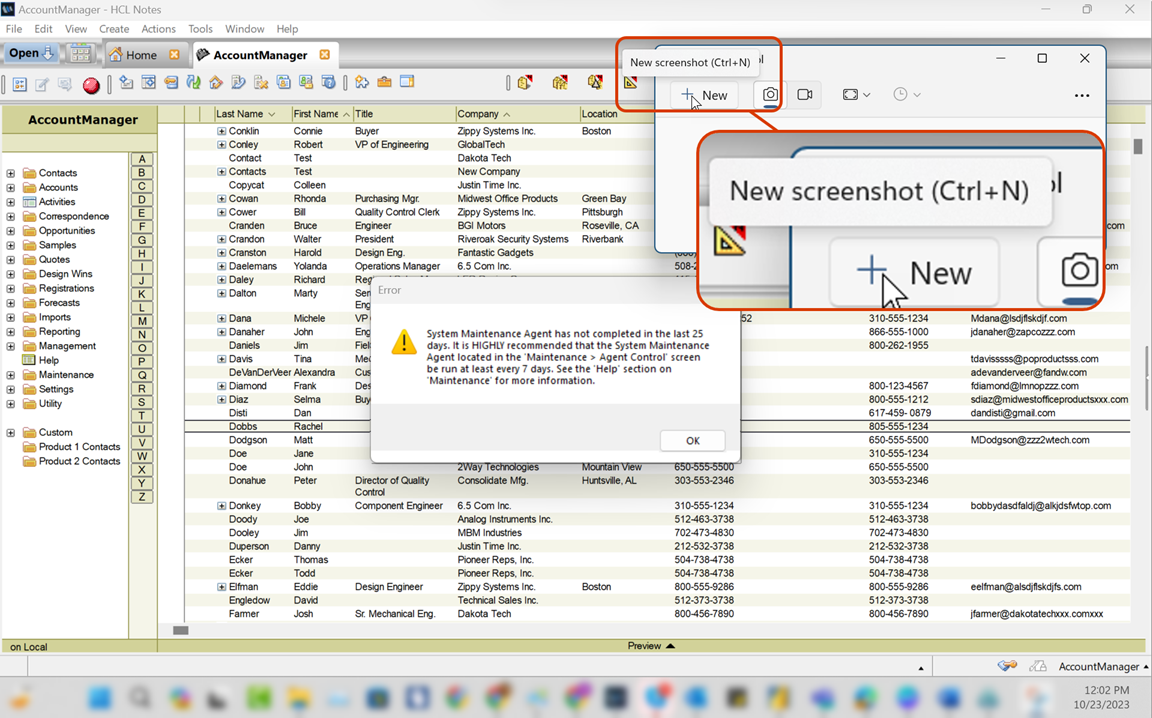
When you’re ready to take your screenshot, please be sure to have the Empowering Systems application you’re contacting us about visible on your computer screen, including any error messages you’re reporting.
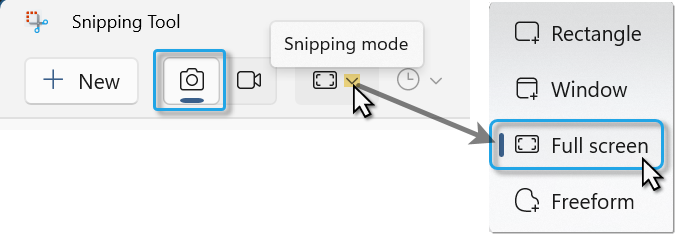
Open the Snipping Tool, and make sure the camera icon is selected, then click the Snipping Mode dropdown to select Full Screen.
Click the ![]() New button, and the Snipping Tool will automatically capture an image of your entire screen (without including itself in the capture).
New button, and the Snipping Tool will automatically capture an image of your entire screen (without including itself in the capture).
You may need to click the ![]() Snipping Tool icon on your taskbar to view the application on your screen again, but you should see your entire image represented in the viewing area. That’s all you need to do, before sharing the image with us! (Note: While it’s not necessary, you can use the editing tools if you want to mark up or highlight a particular area of the image. Please don’t crop off any of the Empowering Systems application areas. We often use clues from areas such as the AM or SA outline, browser URL, or HCL Notes status bar in diagnosing a problem you’re experiencing).
Snipping Tool icon on your taskbar to view the application on your screen again, but you should see your entire image represented in the viewing area. That’s all you need to do, before sharing the image with us! (Note: While it’s not necessary, you can use the editing tools if you want to mark up or highlight a particular area of the image. Please don’t crop off any of the Empowering Systems application areas. We often use clues from areas such as the AM or SA outline, browser URL, or HCL Notes status bar in diagnosing a problem you’re experiencing).
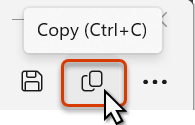
If you’re sending us an email, you can use the Copy button to copy the image and then paste it into your email.
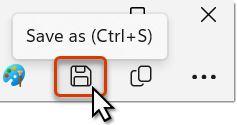
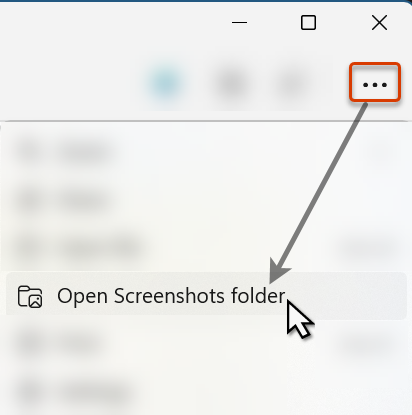
If you’re entering your support case on our Customer Support Site, you will need to save the image first, so that you can attach it in the website form. You can do this by clicking the Save button in the Snipping Tool and saving the image to your Screenshots folder. (This folder should already be created on your computer). You can then find the file by clicking the ellipsis (…) button in the Snipping Tool, and choosing Open Screenshots Folder. From there, you can drag and drop the file into the area at the bottom of the Support Request Form, where it says Drop Files Here.
Tips & Hints!
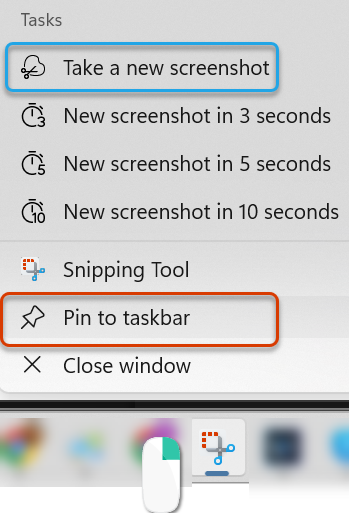
When you have the Snipping Tool open, right-click on the system tray icon, and select Pin to Taskbar so it’s more accessible, moving forward.
While you’re in that right-click menu, notice you can use that in the future to just automatically take your screenshot from there. (the options involving timing are helpful when you don’t want the screenshot to be immediately upon clicking, because perhaps you need time to click a button, or display a menu for inclusion in the image).
