Search for answers or browse our knowledge base.
Creating a Custom Compact Opportunity Layout in AccountManager
With AccountManager Mobile App and AccountManager365 Add-in for Outlook, you can customize the compact layout of your opportunity for your entire company or even per principal. We understand that each principal needs certain data from your firm. We developed a way that you can easily customize the compact opportunity so you only see the pertinent information. It’s easy to set up and keeps your salespeople selling.
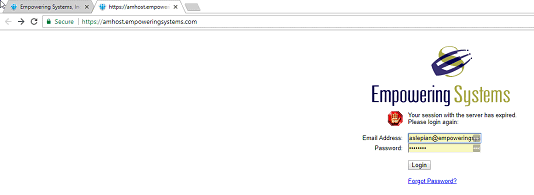
1. Log into the Empowering Systems AccountManager Web.

2. Type in your Email Address and Password then select Login.
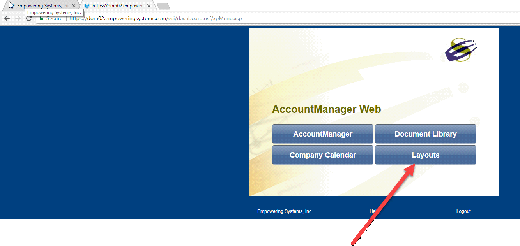
3. The AccountManager Web dashboard will display. Choose Layouts.
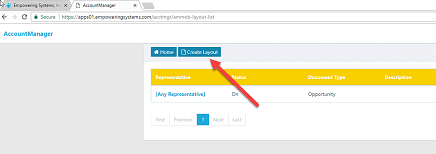
4. Select the Create Layout button.
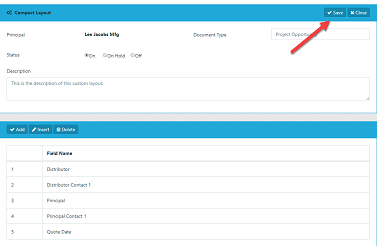
5. The Compact Layout screen appears. Select the Principal and the Document Type. The Description is optional. FYI –you can also choose Any Principal to apply to All principals. Principal specific layouts take precedent over All Principals, so you can mix and match to meet your needs.
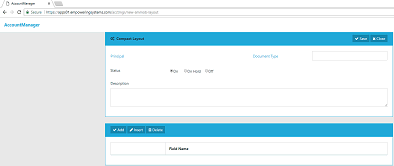
6. Once you have filled out the fields, choose the Save button.
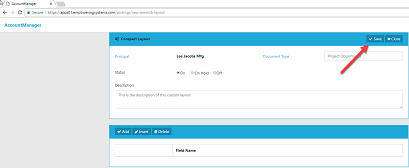
7. Once the document is saved the bottom of the screen will populate with the default custom layout.
8. You can choose one of the following items:
Add –Adds a field at the bottom of the criteria
Insert –Inserts a field where you have it highlighted
Delete –Deletes the highlighted field.
Note: The description of the fields that you can choose from can be found by clicking on Help>Opportunities in your AccountManager database.
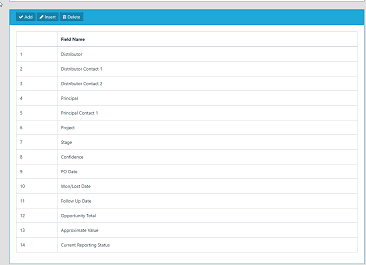
9. When you are done with your selections, choose the Save button. And then select Close.
10. Now when you open a compact opportunity in AccountManager 365 add-in or AccountManager Mobile, you will see your new customized layout.
